I am wondering about the Command hooks and your design wall statement. how thick is your design wall and how do you hang it with Command strips?
Thank you
I use 1" thick styrofoam insulation from Lowe's and the large Command hooks that hold 5 lbs.
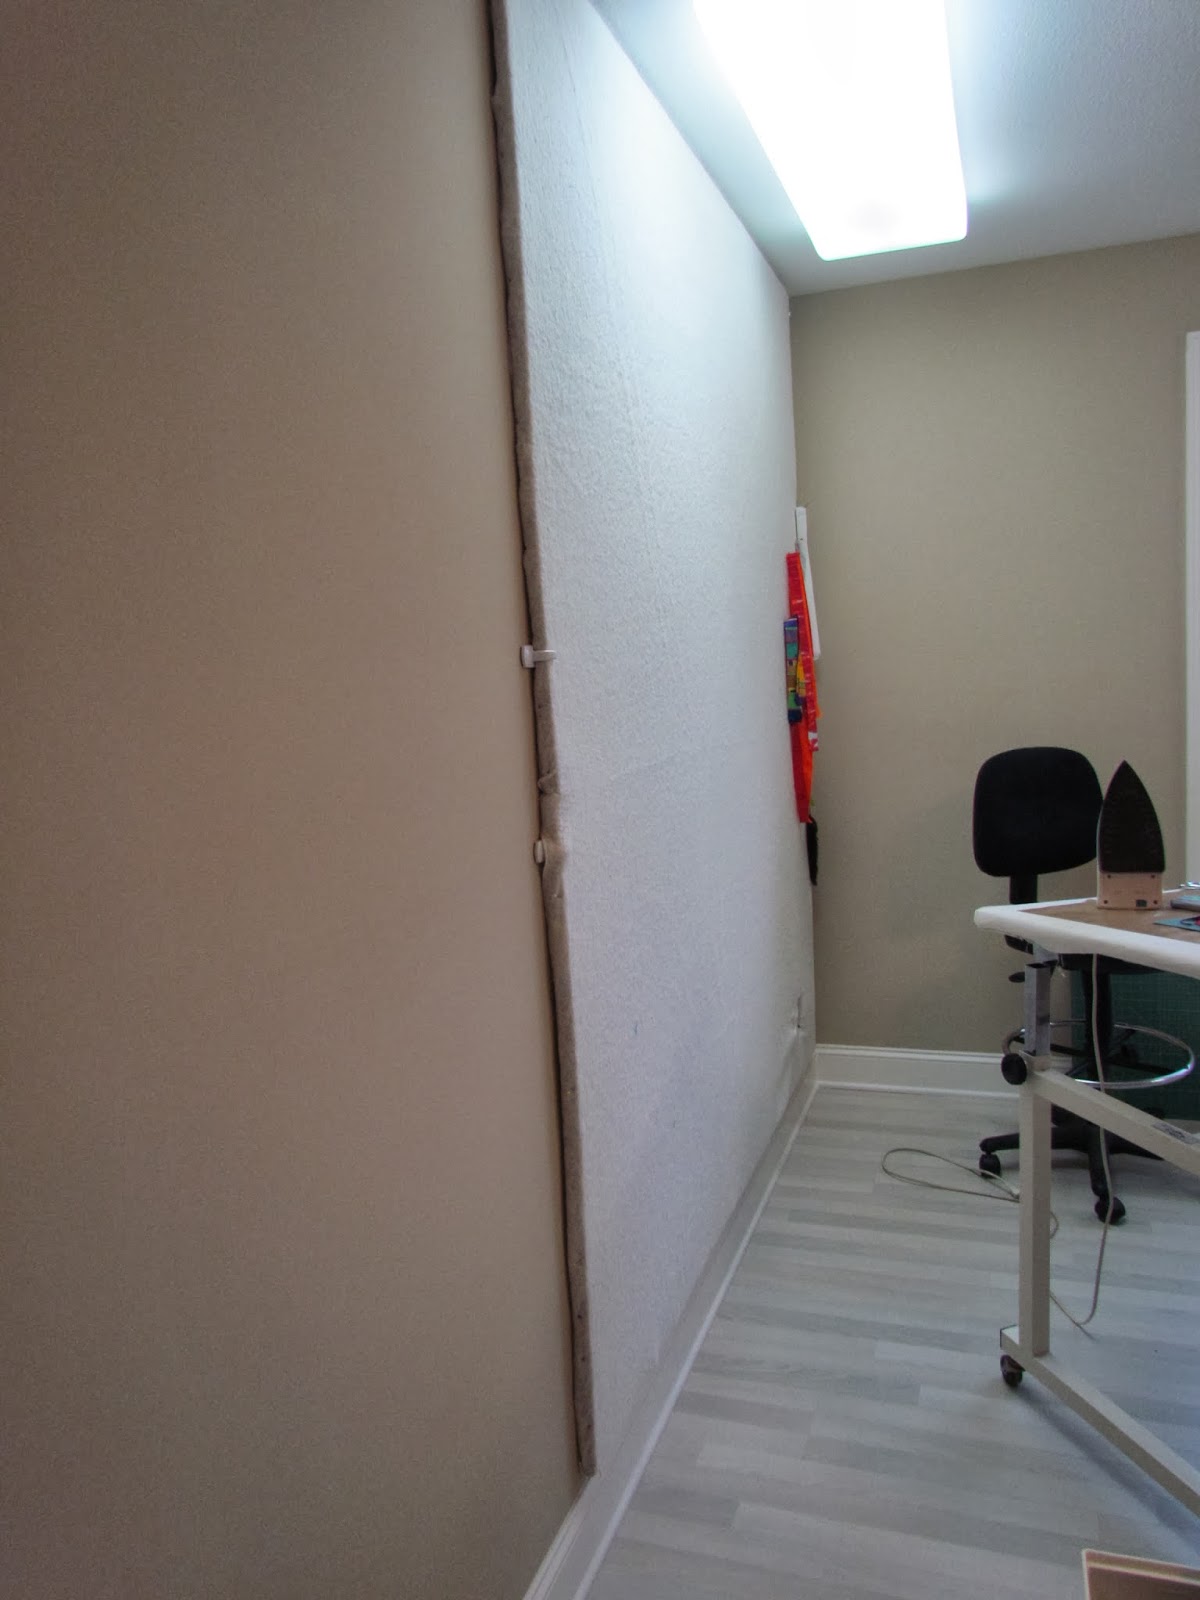
Since this is the third time I have used the same design wall, I had to cut it to size again and cut out a space for the wall outlet. Using a craft knife and straight edge I drew the shape and cut it easily. To attach the two panels, I chose to do them horizontally this time, to fit in under the ceiling light fixture.
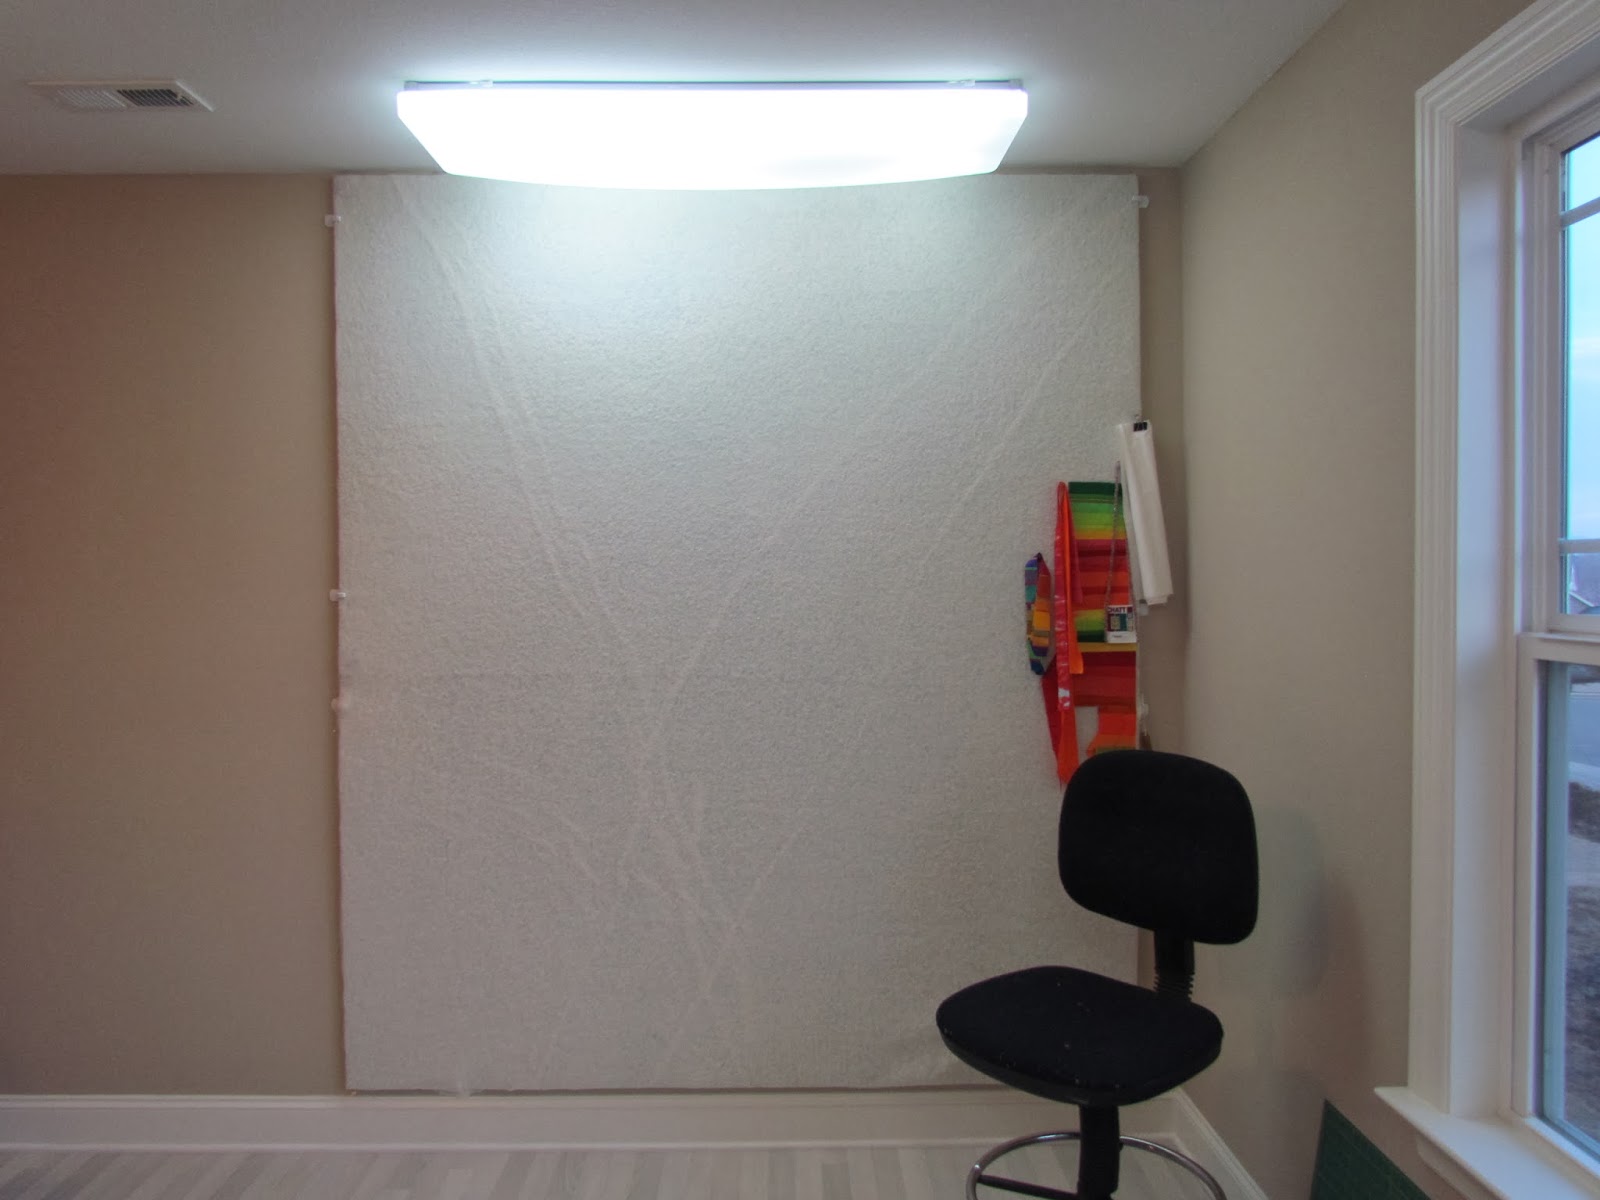
Here's the wall, just propped in place. Because my last studio space had a very low ceiling, I had cut these panels down to fit. Not wanting to buy more, I decided I could still make use of these, if I hung them horizontally instead of vertically. They are about 7'4" wide instead of 8 feet. The bottom panel was also cut down to fit above the baseboard. Since I am making smaller works for the foreseeable future I really don't need an 8x8 foot design wall.
I put two hooks on the bottom side and two on the sides of the bottom panel. Then I pinned the batting to the top panel and placed two hooks on either side of that panel as I anchored it in place over the edge of the bottom panel. It was easier than it sounds and I did it alone, so take note.

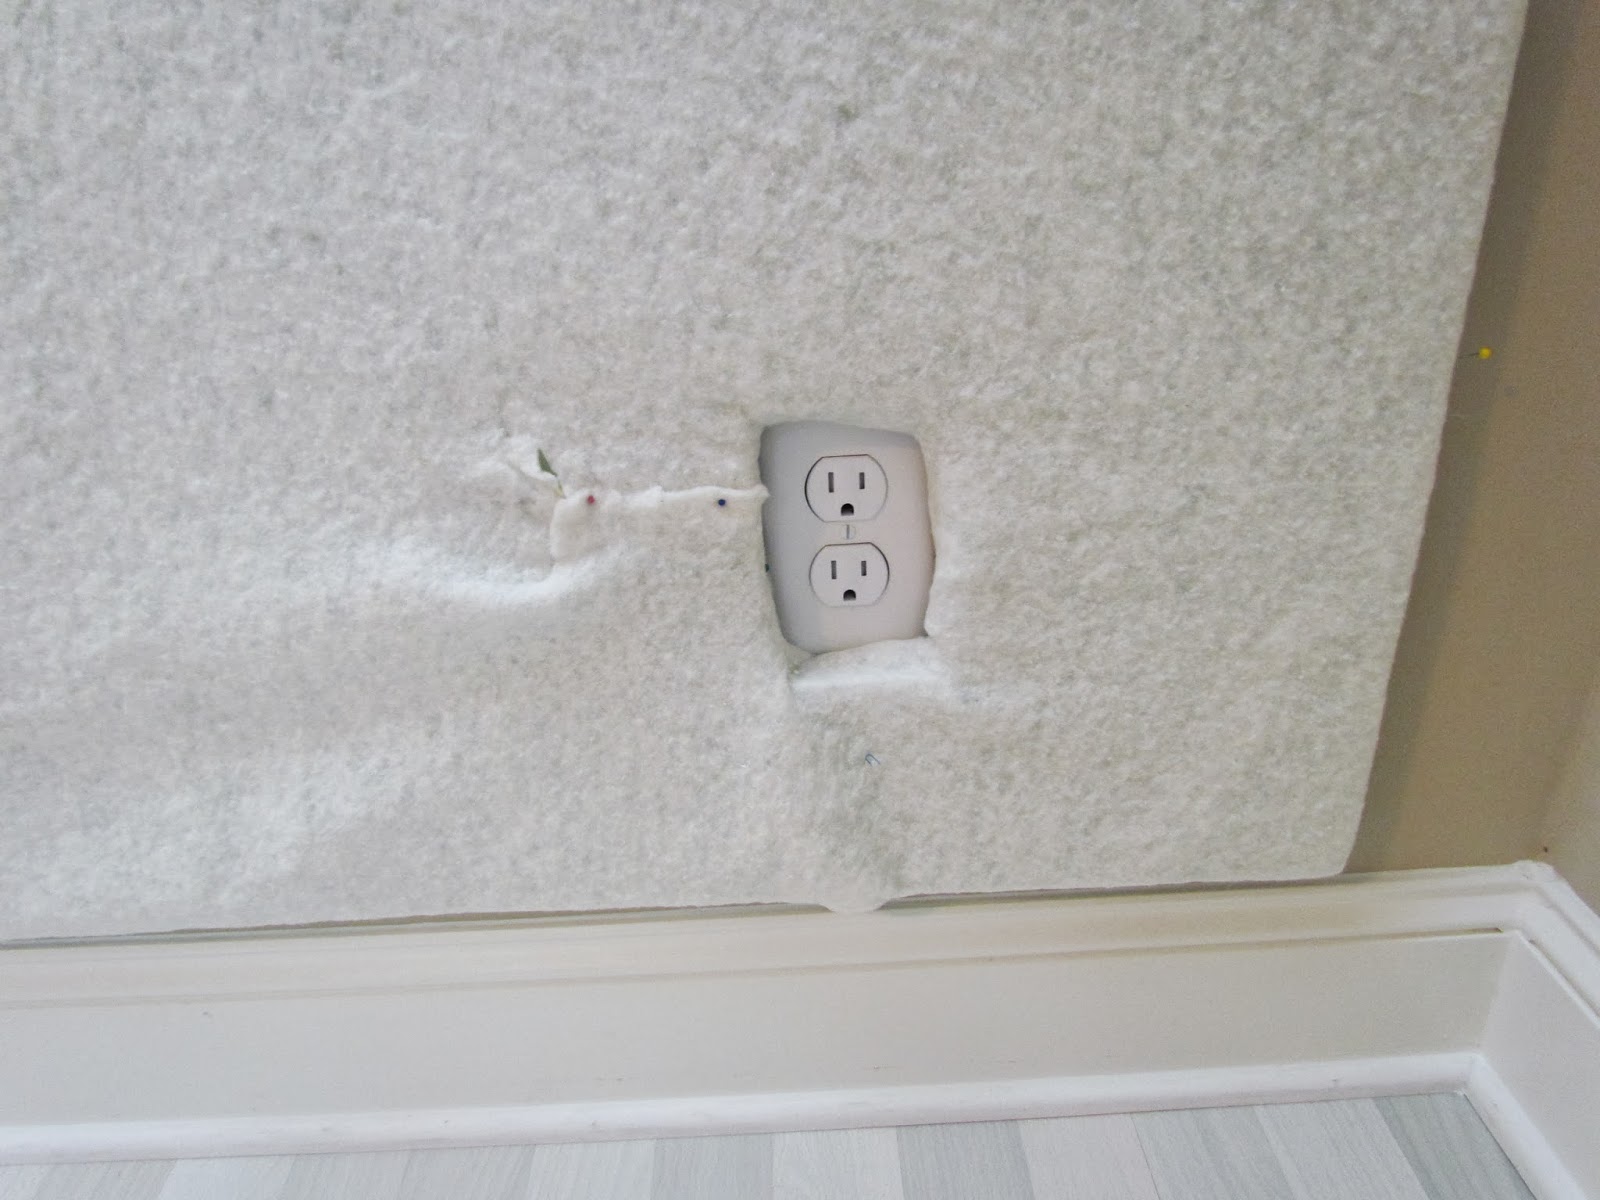
Surgery on the styrofoam for the outlet. The leftover batting shows the previous hole, pinned in place now, and hardly noticeable.
And then the fabric all pulled out and scattered... I washed the floor in the new studio and took the dogs out for a final walkies around the block and even tho it was after 4pm, I thought I would start something creative in the space.
It was pretty lame, so I will put it aside and try again.

I put two hooks on the bottom side and two on the sides of the bottom panel. Then I pinned the batting to the top panel and placed two hooks on either side of that panel as I anchored it in place over the edge of the bottom panel. It was easier than it sounds and I did it alone, so take note.

Surgery on the styrofoam for the outlet. The leftover batting shows the previous hole, pinned in place now, and hardly noticeable.
And then the fabric all pulled out and scattered... I washed the floor in the new studio and took the dogs out for a final walkies around the block and even tho it was after 4pm, I thought I would start something creative in the space.
It was pretty lame, so I will put it aside and try again.
Here is my neighbor walking the two pug girls across the street from me. They are sisters, seven years old and soooo adorable.


I didn't realize that your design walls were attached with Command hooks. What a brilliant idea! I had mine just leaning for months and finally got a dry wall screw, put it thru a washer, then screwed the top center of each panel to the wall. One of these days I need to strip the awful wallpaper and paint everything in my studio. When I do that I will re- install my design walls using the Melody method!
ReplyDeleteThank you for the information. I love this idea for mounting a design wall.
ReplyDeleteThank you for this.
ReplyDeleteYou are always so giving. This is a real improvement over all those dry wall screws and washers. Plus I can do it myself.
I'm enjoying your new space vicariously. My design wall must be propped (and it's ceiling height!) because I have no free wall space on which to hang it.
ReplyDeleteI've been reading your past posts all weekend and have so much gratitude for the information you have shared. My DH and I are both now using the Loseit.com tool and we love it! And I now have an appointment with myself in my quilting room each morning at 10 AM.
And while I'm a beginning knitter, I'm going to try to master just one chevron block and play with some of my yarn. I bought Malabrigo yarn when I first saw it in the shop but haven't had much to do with it. So...practice blocks it shall be.
You and I are born 26 days apart, and because I am an astrologer, I rushed to cast a high level chart...didn't have your place and time of birth but do have the planets. I now know why your work resonated so with me. Again, thank you.
I've always enjoyed your blog. The transformation of your last house inside and out was amazing and I'm enjoying everything you're doing with your new house. I love your idea about the Command Strips. I just wish they came in colors, maybe some day.
ReplyDeleteI love it that you are such a sharing person. Your blog is always fun.
Thank you for your blog and ideas,
Carol Ann Hood
How cool that you already met a nice neighbor to help walk the dogs. I'm blown away that after all that work on your other house you are now moved again and keep on going like the little energizer bunny. Love the design wall idea and wish I had the space. Mine is just portable and lean it when needed.
ReplyDeleteGood morning...Love Love this idea...as I'm a quilter...could you kindly tell me where I could buy the "panels" and the name of them....Thank You, Warm Regards Kim
ReplyDeletenike air max
ReplyDeletegoyard handbags
moncler
kate spade outlet
cheap jordans
jordan shoes
off-white
lebron 14
kyrie 3 shoes
golden goose sneakers
xiaofang20191229
golden goose sneaker
ReplyDeletegoyard outlet
goyard store
palm angels
bape clothing outlet
Szia minden testnek, ez az első látogatásom a blogon; ez a weboldal figyelemre méltó és igazán finom adatokból áll az olvasók számára.
ReplyDelete