
Mitered Kerchief


Does anyone remember the kerchief style scarves from like 50 years ago? Gulp. It just came back to me in a flash. We all wore little cotton triangles either as hats or around our necks. This little knit reminds me of those. And of course the Baktus scarf, my latest favorite knit.

But this time I've made it smaller and started in the middle with a mitered diamond and knit outwards from either side of it. I used a crochet cast on again, because it is just so much easier to get proper tension and because later I am going to want live stitches to knit from where I began.

Crochet a long chain of stitches and with the knitting needle pick up a stitch in the 'spine' of each chain. Later these can be unzipped and will provide live stitches.

The orange yarn is the crochet part that I will undo and then put the exposed stitches on my needle to continue to knit.
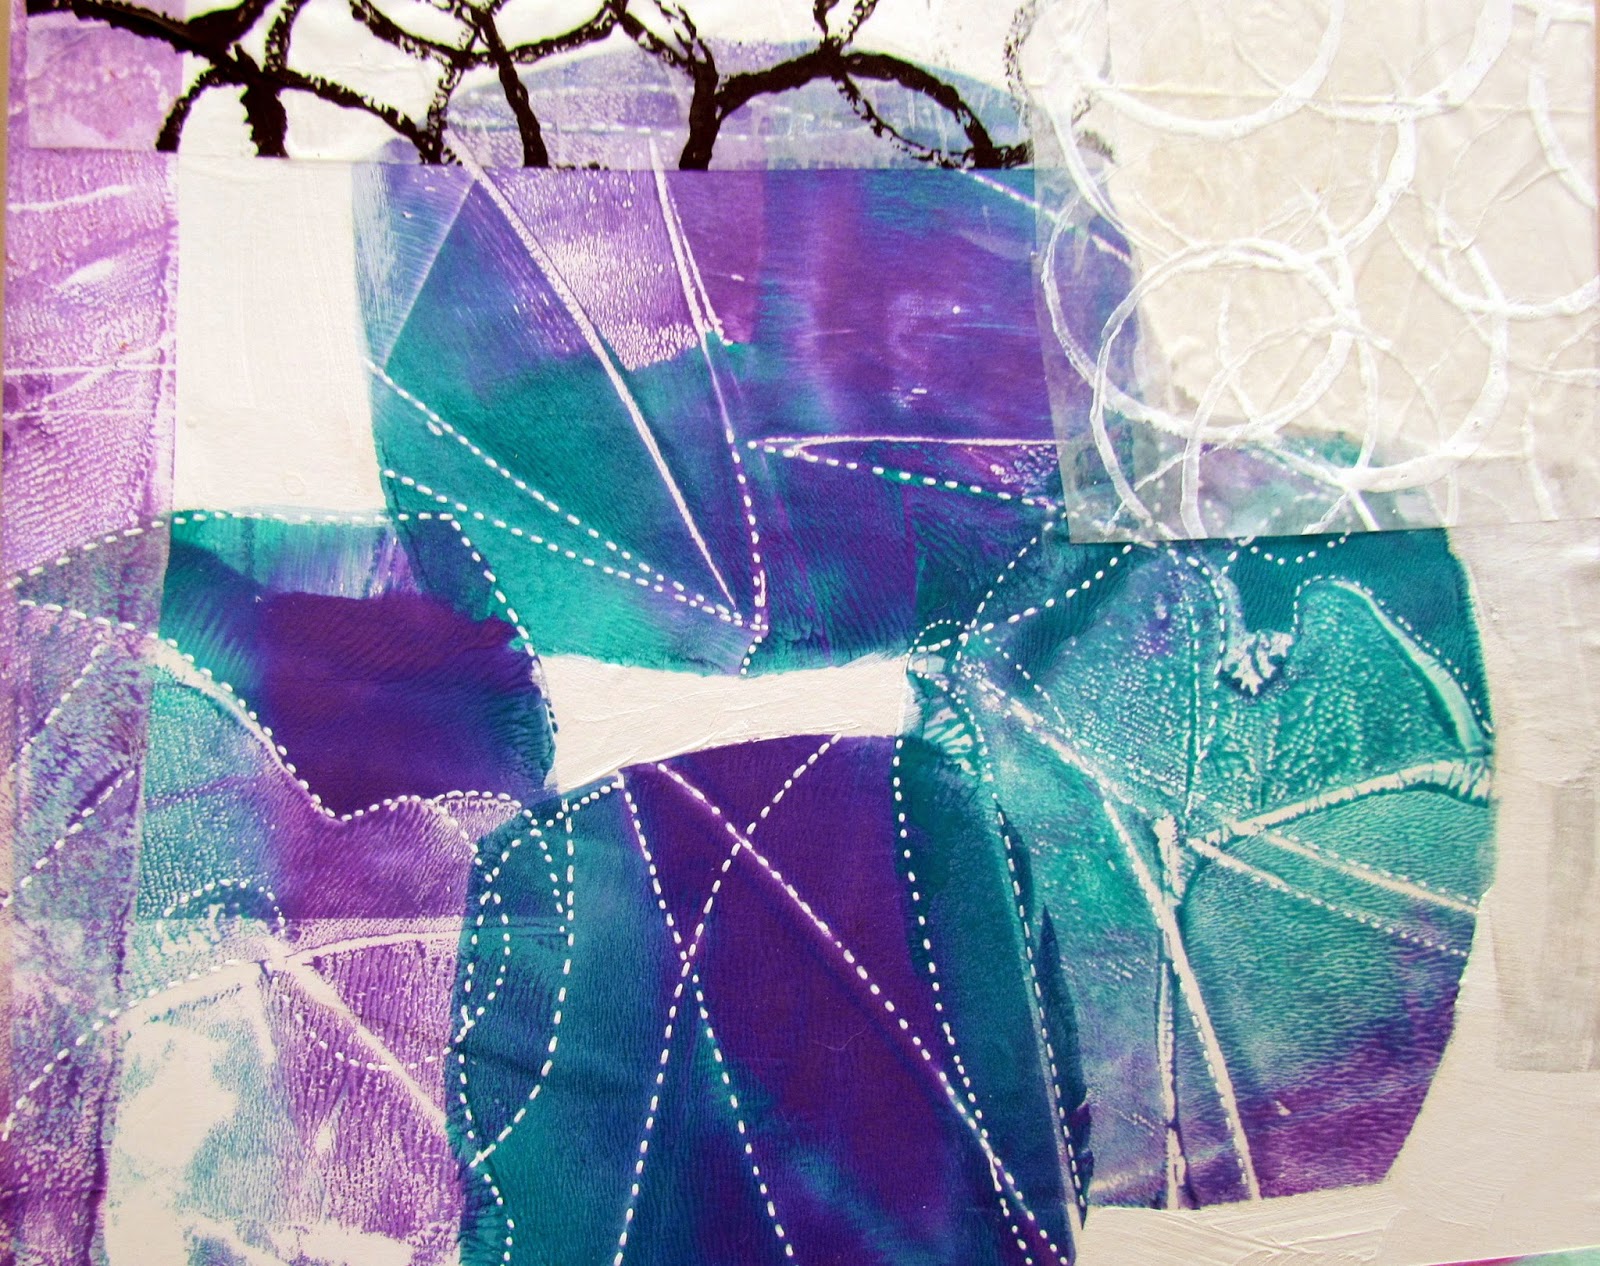
Pattern: The mitered diamond in this case was 87 stitches, size 3 needles and lots of different colored sock weight yarns. I used a center decrease of k2tog, k1, k2tog, arranging my stitches before decreasing so that they face the correct way to achieve this look. Knit in garter stitch, and when the sides are knit, decrease at the top edge, one stitch away from the edge, every fourth row.
The mitered square alone is 8". If a larger, longer scarf is desired, increase the amount of stitches for the mitered square, by an uneven number.
I'd much rather decrease than increase, which is why I decided to construct this scarf in this manner. One could just as easily start at one end of the scarf, increase until time to make the big mitered square center, and then pick up stitches from the other side of the square and decrease to the end. Whichever way makes you happiest, I always say.
Here it is with just one side knit off the square and the crochet yarn still attached.


 Any questions? Email me
PS: Wendy over at Knit and Tonic has a great tutorial on Long Tail Provisional Cast-on. See it here.


