
I asked for your QAYG projects and got two yesterday! Some of this may be difficult to follow if you have not tried to make a QAYG quilt, but what I like love are the solutions these two gals devised to make their project work. That's the thing about creative people, we make something that becomes a problem and then use our creativity to solve them.

Dear Melody,.
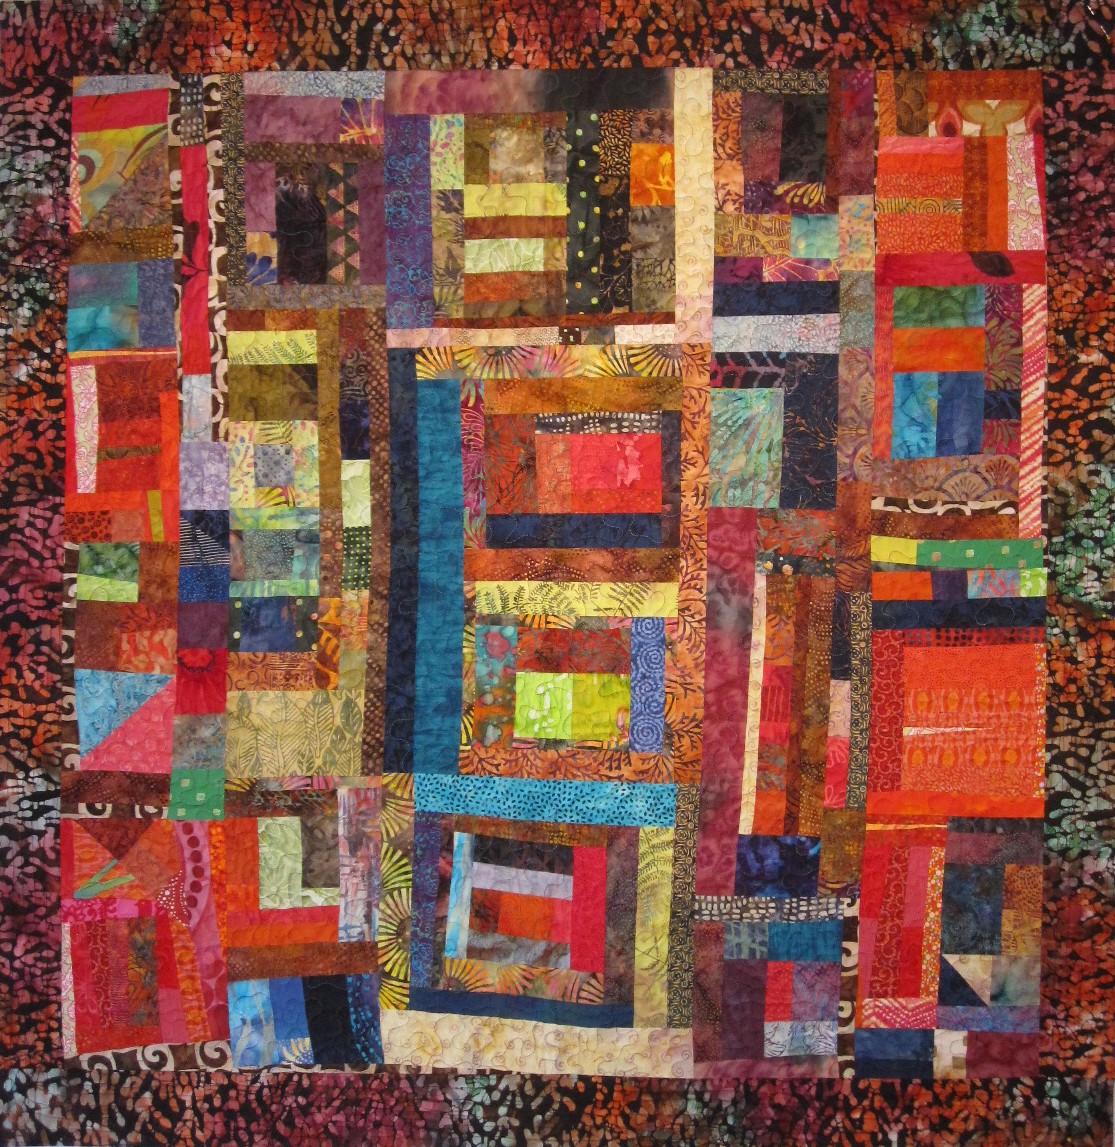
I did this big quilt for a friend's birthday. I'm too old for quilt wrestling, so I quilted the center in two pieces and then joined them with a strip on the back only (slightly different technique than yours.) I free-motion quilted the borders with large leaf-like forms and then joined them to the center with strips that finished to 3/4 inches on both the front and the back, giving me a small inner border. Using QAYG made my jobs smaller and also let me bury all the starts and ends of my quilting. Enjoy,
Mary Campbell
( FYI, Mary did have to hand stitch the backing strip to finish it off, which could have been stitched down from the front with lots of careful pinning.)
I recently got a small wall hanging back from the quilter and auditioned various fabrics for the binding, none of which worked with both the front and the back (a really wild fabric). And, I felt like the piece was just a little small to work as a lap quilt to snuggle with.
I decided to combine a couple of the QAYG methods to add a four-inch border all around with the fabric on the back of the border matching the back of the quilt. I cut the back strips ½ in. wider than the front ones, stitched them together and then ironed them right sides out. I then cut the batting strips and zigzag stitched them into the seam so that they would lie flat and out to the edge of the border. Keeping the seam on the outside, I did the stitch-n-flip method to attach the border fabric to the front sides of the piece, then folded under the excess back fabric (about ¼ in.) and trimmed any of the batting that extended over the connection. I used fusible to hold the folded-over back border in place while I did wavy line stitching around the border. This was repeated for the other three borders. Only a little hand stitching was needed to clean up the corners where each border joined the others.
This worked out great because it eliminated the need to do a separate binding (which I don’t enjoy!), added eight inches to the size of the piece and the matching back border makes it look like one big piece.
Just thought I’d share . . . I love trying new things!
Janet
San Miguel deAllende, MX


Both are lovely quilts. I've seen it done a few times, used it to add borders to an already quilted art piece. Ive not tried it on a quilt yet.
ReplyDeleteFrom one gardener to another: netflix recommendation
ReplyDeleteGARDENERS
Sandra in SC
I think you would love to have the eBosser by craftwell. It makes quilting a breeze so i have heard. I am thinking about getting it, i also found out that it will be available on HSN and will be making an appearance at 1am -2am edt. Check it out if you are interested. i hear that the eBosser can cut through many layers of fabric at a time.
ReplyDelete