
Aliens from Outer Space?

++++++++++++++++++++++++++++++++

Back to the piece at hand. For those of you who were asking about following the process, here goes.
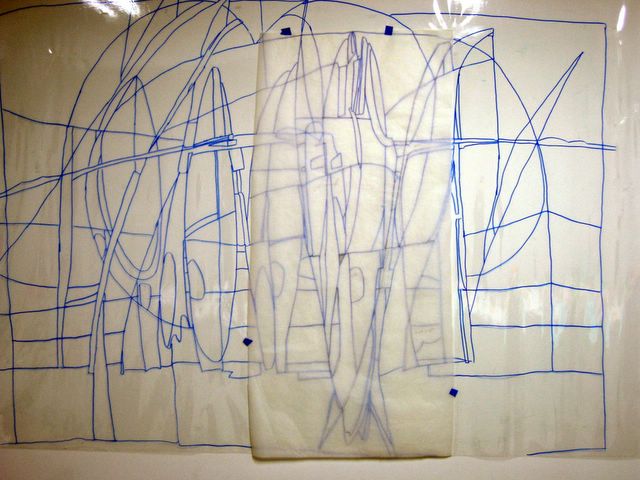
I look at this cartoon and am immediately OVERWHELMED. But as in all things, experience has told me that
#1, I am in control of this process.
#2 One step at a time leads to the end
#3 I can always throw in the towel and claim I fell off a ladder and broke something vital and cannot continue. NOT!
To begin I tape a piece of the release paper from the used Wonder-Under to my design and with a pencil, trace one segment. I chose this part to do first because it is the focal point of the cruciform and everything must line up along its axis.

Then I bring the tracing to my table and trace off sections to make patterns for each shape. I cut the traced shapes with paper scissors and then lightly fuse spots of the pattern on the back of prefused fabric. ALL MY FABRIC IS PREFUSED. ALL OF IT.
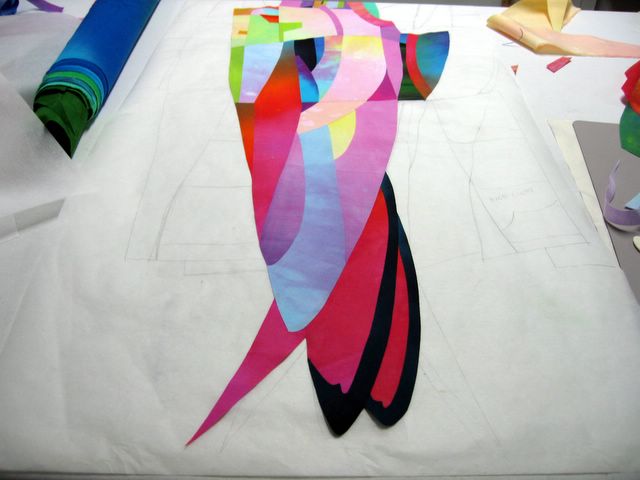
Since I have my sketch at hand, I have planned where the differing values must be and I carefully add darks, lights and mediums where they need to be to enforce the design. I am only making one ellipse at a time, but they must connect and relate, linewise, to each other.
After all the ellipses are constructed then I will add the outer ring of fabrics to fill in the compostion. I am not working on a background sheet of fabric. All the parts are fused onto the wonder-under release paper or teflon pressing sheets, and then peeled off to create a free moveable unit.
There are lots of teeny parts on this first ellipse and it is slow going, but the others are less complicated and I should be able to make one or more a day.
Lest you think that I always start a project like this feeling confident...I really don't. I know I am making something way different than most of my work, and I must make myself BELIEVE it is going to be wonderful and worth the effort.
Many of my artquilt friends make imagery that one can recognize, and is familiar. I am not doing that, despite the fact that many of you have assigned identities to the shapes in this composition.
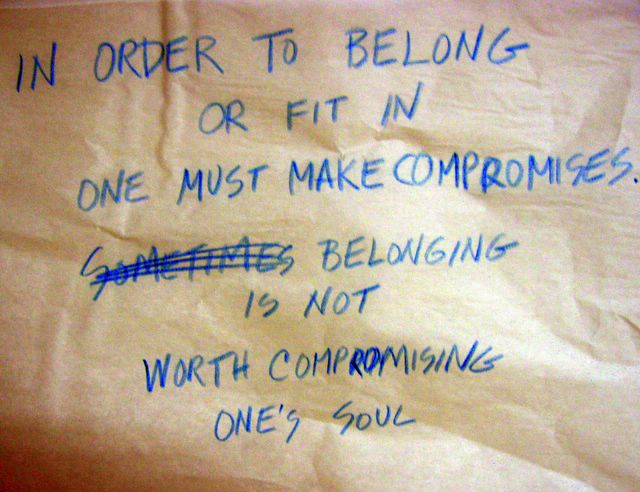
To me this series is all about the interaction of the shapes, lines, values and colors. I will not revert to calling this piece a picture of something. Even if it makes me feel all alone, out on a limb, drifting in the wind...


You will always belong to us.
ReplyDeletelove and kisses
De-lurking here to tell you how much I enjoy your blog and the how-to's. I'm not a quilter, but I admire the art and now that you've shown how it's done, I might try a little something.
ReplyDeleteThanks for sharing your process! I like that way of working.
ReplyDeleteWow, thanks for sharing this. I wondered how you got those precise large pieces. Duh!! Maybe I will make a large fused quilt one dya - now that I know how!!
ReplyDeleteOne of my favorite gapingvoid cartoons: http://www.gapingvoid.com/Moveable_Type/archives/001614.html
ReplyDeleteI have it taped up to my cube wall.
Melody,
ReplyDeleteQuick question (it's probably a silly one, I'm sure!) Do the shapes overlap slightly? Is there a slight "seam" allowance so to speak?