
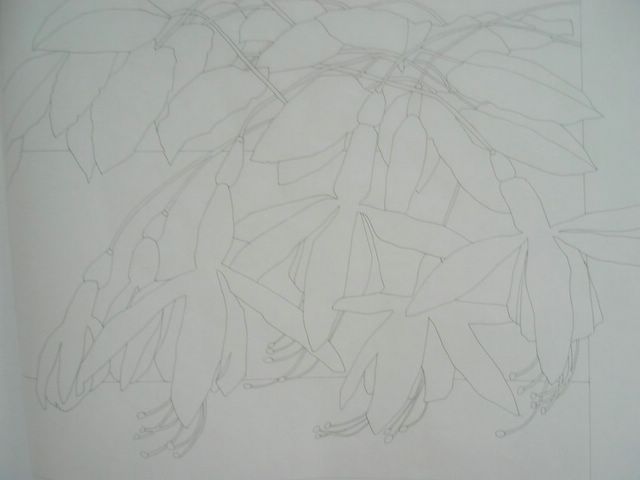
This is the final tracing of the remade Fuchsias. The original drawing was from my sketchbook, which was then scanned into my computer and printed out as a transparency, and then projected onto paper.
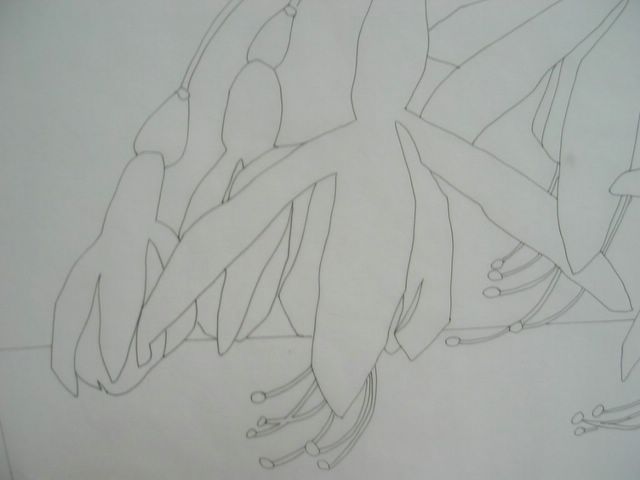
After the entire top is finished I use tracing paper and a Pigma Pen 03 to trace the actual result. This is so the pattern pieces will reflect exactly the picture on the pattern cover.
After the entire top is finished I use tracing paper and a Pigma Pen 03 to trace the actual result. This is so the pattern pieces will reflect exactly the picture on the pattern cover.

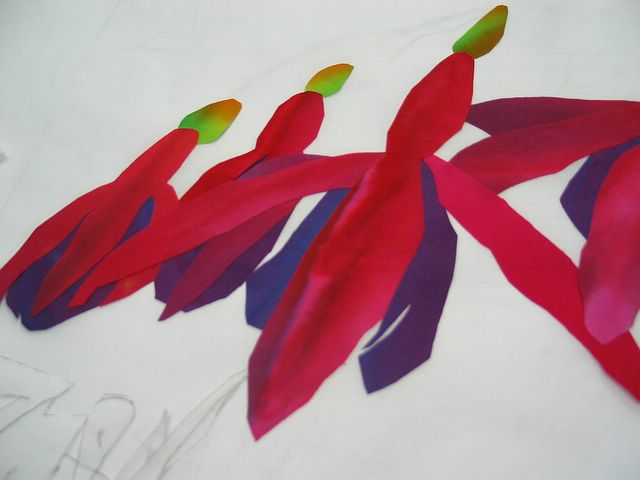
The pieces are assembled on the release paper which is translucent enough to see the original drawing through. I used that drawing for proper placement of the pieces.
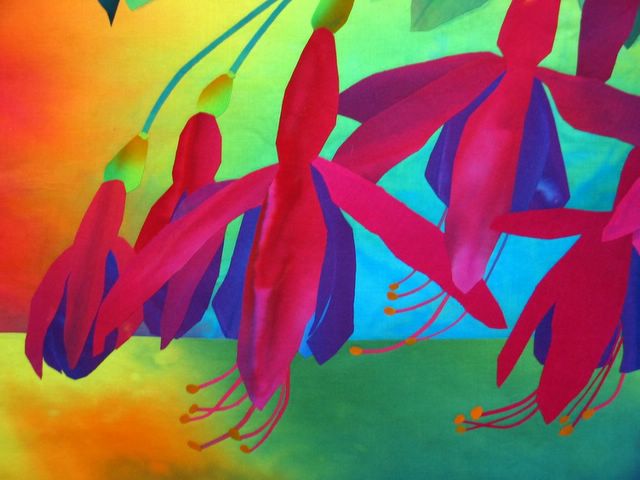
After the top is all assembled, I find the most interesting background fabric, and audition it to make certain that the contrast works. The details of stems and stamens are saved until after the flowers are fused onto the background.

The flower stems have to be fitted under the leaves and between the spaces and take as much time to place as the larger pieces. I do not cut curved strips for these stems. Instead, I cut thin straight pieces, not on the bias, but just iron them into a curve as I place them.
The delineations in the leaves are made with Prismacolor pencils. I have also used them to make soft shadows under some leaves.

I used two different Special Edition cottons for my background and went for a very dark and a medium bright. I wanted the look of the fucshias against a wall and reaching forward over a wall. Mostly I wanted to infer some spacial difference, so the specifics of the background are reversible or interchangable. In other words, the darks could have been brights and vice versa. It wouldn't matter.
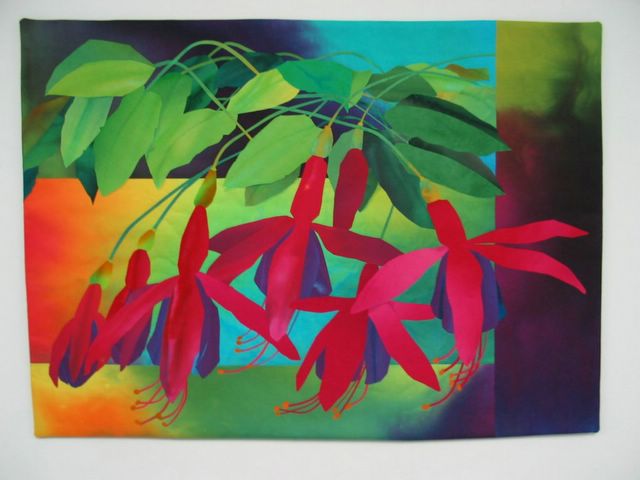
Fucshias 18x24"
I used the Escape Hatch Finish and will quilt it today.
Questions that arose since this post was written:
Where do you get transparency paper that will fit the printer? Staples? Quilt Store?
There is no transparency paper, it is transparency (acetate)sheets that are used in the inkjet printer. I get them from Office Max. They come in copier versions too.
2. Are you using the additional step of tracing paper because you will be creating a master pattern for sale? If you don't do that, is the step necessary?
The master pattern is on regular paper as it would be for the pattern. The paper I am using to trace is the release paper from the Wonder-Under, and must be used because I am fusing the cut pieces onto the back of the pre-fused fabrics. Regular tracing paper will stick to the fused fabric and cannot be used. After the quilt top is finished, then I trace the top with real tracing paper. I will take this to the printer to have it duplicated for the pattern.
3. Are you creating the flowers and stem, fusing them together and then fusing all to the background?
No. I am fusing the flowers without the stems and stamens. They are too fragile to apply until everything is settled on the background. The background strips are fused together and then the flowers are gently lifted off the release paper where they were assembled and fused, placed in the best spot of the background and fused gently in the centers of each piece. I leave the edges unfused until the stems are tucked into place and the stamens are slipped under each flower.

