
Escape Hatch Finish
=


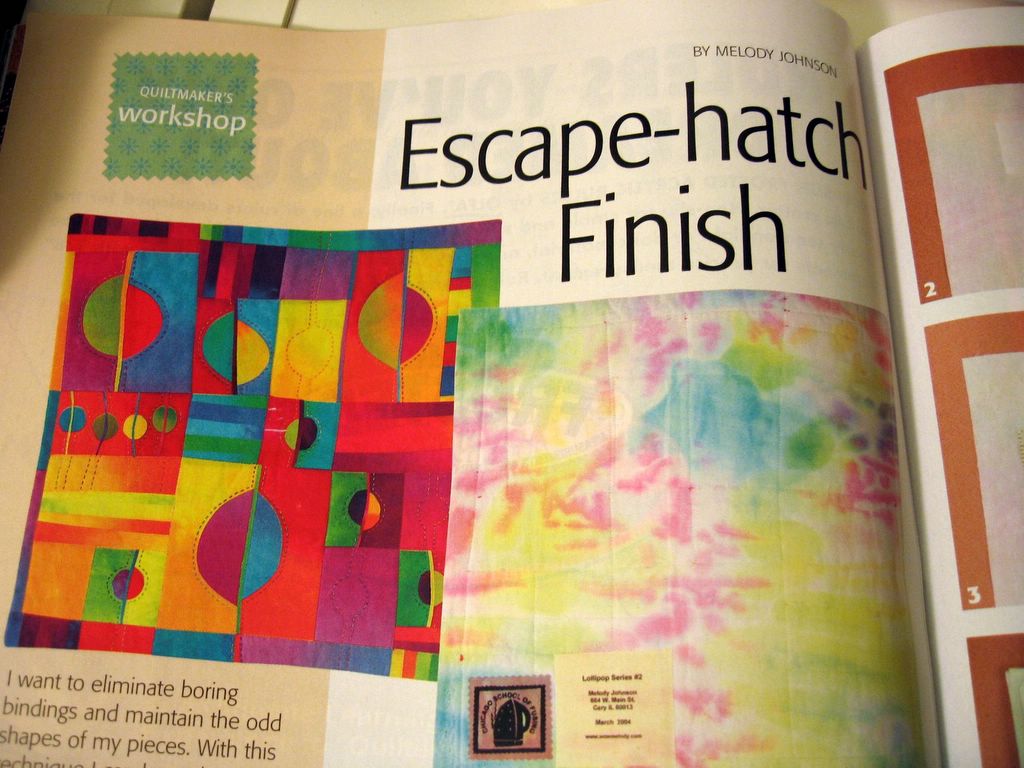
I had a request from a reader asking for the information that was in the Quilter's Newsletter Magazine article that featured the Escape Hatch Finish.
So I scanned the two pages and here it is for her and the record. Now I can refer to this in my classes and have it visible for all to see, whether here or yonder in some foreign place where the magazine is not available, like in a cluttered studio.


If you click on the pictures they will appear larger and then an icon will appear (wait a second) in the lower right hand corner. Click on that and all will become clear to you.
This is a pretty accurate description of the Escape Hatch finish. Except that they sorta changed my words a bit on the last step of the process.The way it appears in the magazine:
5. Turn the layers right sides out through the slit. Remove the paper from the strip of fusible web and then press the backing to the batting to fuse the opening closed. Press the quilt top thoroughly.
It should read:
Turn the layers right sides out through the slit. Press the quilt top thoroughly making certain to roll the edges of the front toward the back so that the backing fabric is not visible on the front. Remove the paper from the strip of fusible web and then press the backing to the batting to fuse the opening closed.
I did insist on this cautionary statement:
My quilt tops are made by fusing fabrics together. The technique presented here works well for my work, but I have not tried this finishing method with a pieced top.
Hopefully this will forestall any hate mail.

