Wednesday, February 29, 2012

Spring Fever


I cannot tell a lie: Everything in the studio is in suspended animation. I walk through it on my way outside. We have been having a wonderfully balmy month of February and my plants are emerging, my daffodils blooming and the dawgs are running in the pond, getting all full of mud.
QAWM was supposed to take advantage of the rotten stay-indoors weather and there has been very little of it. I can't make myself work on my quilt when it is so lovely outside. I refuse to feel guilty about it either.
My quilts will get finished when the spirit moves me. In the meantime  I am saying goodby to QAWM 2012 and hello to Spring!

Sunday, February 26, 2012

Nine Bigger Blocks


It turns out that my blocks have grown from around 16x19" to 22.5x23.5". This means I will be meeting the goal dimensions without making wide side borders. At the unquilted state it measures about 65x70", and I just need another 20" in length, or three more blocks to make it a twin quilt. I am thinking about not making more blocks, but just two ten inch panels, top and bottom, of strips which will finish it off nicely. I used only a fraction of the pinwheels so that may happen at the borders. As it looks now, one could play Where's Waldo, just trying to find the three blocks that have pinwheels in them.
I am quitting for the day, so I can finish a sweater and watch the Oscar pre-shows. Perfect brainless TV watching.


Saturday, February 25, 2012

The Idea Surfaces!

I jumped into this with a very sketchy plan, and finally the IDEA has come to the surface. My brain is like that fortune telling 8 ball game, with  words or phrases floating in liquid and a tiny window where they rise to the surface.
Duh.
Now I know that I am going to make twelve blocks, 3 rows by 4, and then add connecting strips and borders.

In order to make this work, I will have to make more half square triangles sets. But this time I will make them into pinwheels and then alternate them with the diamond blocks (aka square in a square).
That ought to busy it up even more. I think that is what I am loving about this piece. So much going on and nothing is really a focal point. So different for me, and ultra scrappy. FYI, these blocks are not sewn together yet, and it's a good thing, since they will be rearranged when the newer blocks get sewn.


Is it right to have one block that is the favorite? I think this one may be it, and the vibrant orange strip is what took it over the edge. Ay ayaaaay!

Note to self: must make more shortie strip sets.


I made 15 sets of pinwheel blocks or 30 finished blocks, which will then be configured into the new big blocks.


Thursday, February 23, 2012

Two More Blocks


I am having a wonderful time assembling strips into blocks, wallowing in bright pastels. I'm going for a colorway of yellow, lime, lavender, and aqua. O, and pink! Alright, everything!


The blocks lined up size-wise with very little planning on my part. Together they measure about 60" wide. I'll make another set of three and see how those look, before I sew anything together and quilt it.
Today was Jazzercise, grocery shopping, lunch on the deck (we hit mid 70's here!!!) and then I finally got down to sewing by 1pm. I'll be home, paying attention to this quilt all weekend. Must finish the main part of the top by Sunday! My goal is to have this completed before the end of the month, and luckily we have an extra day. My sewing machine will be smokin'. Zoom, zoom, zoom.


Posted by Picasa

Tuesday, February 21, 2012

I Changed My Mind


After not being totally thrilled with yesterday's start, I went back to study my Flickr favorites and found what did make me happy. I have always admired these two strip pieced quilts by Freddy Moran and Gwen Marston. I knew I could have more fun playing with lots of strips and maybe even incorporate my squares too.


I had to spend a bit of time cutting a strip or two from all the fabrics on my table, and only then did I remember that I had tucked away several boxes of already cut strips, leftover from last year's QAWM.

Sometimes a false start can lead to a much better do-over.
I am ready and jazzed to sew now, but have a very busy Wednesday in town, so it will be Thursday before I can jump back into the studio.
Speaking of being jazzed, I am getting much more limber due to the rigorous workout we are doing at Jazzercise. I used to be so stiff in the morning as I creaked my way down the stairs. This is not happening now, and the only difference (besides my weight loss) has to be the exercise...yay!


Posted by Picasa

Monday, February 20, 2012

Starting in the Middle

As simple as this beginning is, you would not believe the indecisions that brought me to this result.
I began with a few charm packs, all five inch prints, and then I cut long strips of 5" wide solids.
My first idea was to do a traditional star block of half square triangles, but I didn't want a square as my start, so I then decided to do pinwheels in a rectangle, but it was too unfocused because I couldn't decide if the flags should be the prints or the solids. Arrgh.  I was definitely overthinking it. Simplify, simplify.
Then as I assembled these simple prints on point in a solid square, I felt there were too many pastels and not enough brights, so again, I started cutting and sewing brighter colors together.
Now I have a mix, and while it isn't all that innovative, it has what I needed and it is in a rectanglar layout. From here I will add wide strips of prints alternating with narrower strips of solids, with inserts of pinwheels, flying geese, and more squares in squares. So far it is 16x19". The top center will be quilted and then I will add wide borders and more to get the size I am aiming at, 65x90ish.


Posted by Picasa

Sunday, February 19, 2012

At My Fingertips


At last I have the solution to keeping my tools at hand, yet out of the way of my workspace. This is a rail system that we got from Ikea years ago, and I unearthed it again when I rearranged my closets. The containers are just the right size to hold all my stuff.  I hung the rail to the right of my worktable.
I am using bulldog clips to keep my big ruler handy, and so far it stays put nicely.

My system is no longer available at Ikea and has been replaced by these less roomy but prettier containers. Here's the catalog page. I dream of the day when Ikea gets organized enough to have online ordering and UPS delivery. Arrgh.


I was all set to order these wall racks and accessories from the inspiring and tantalizing Container Store, but I don't think I need them anymore.

Saturday, February 18, 2012

QAWM-QAYG

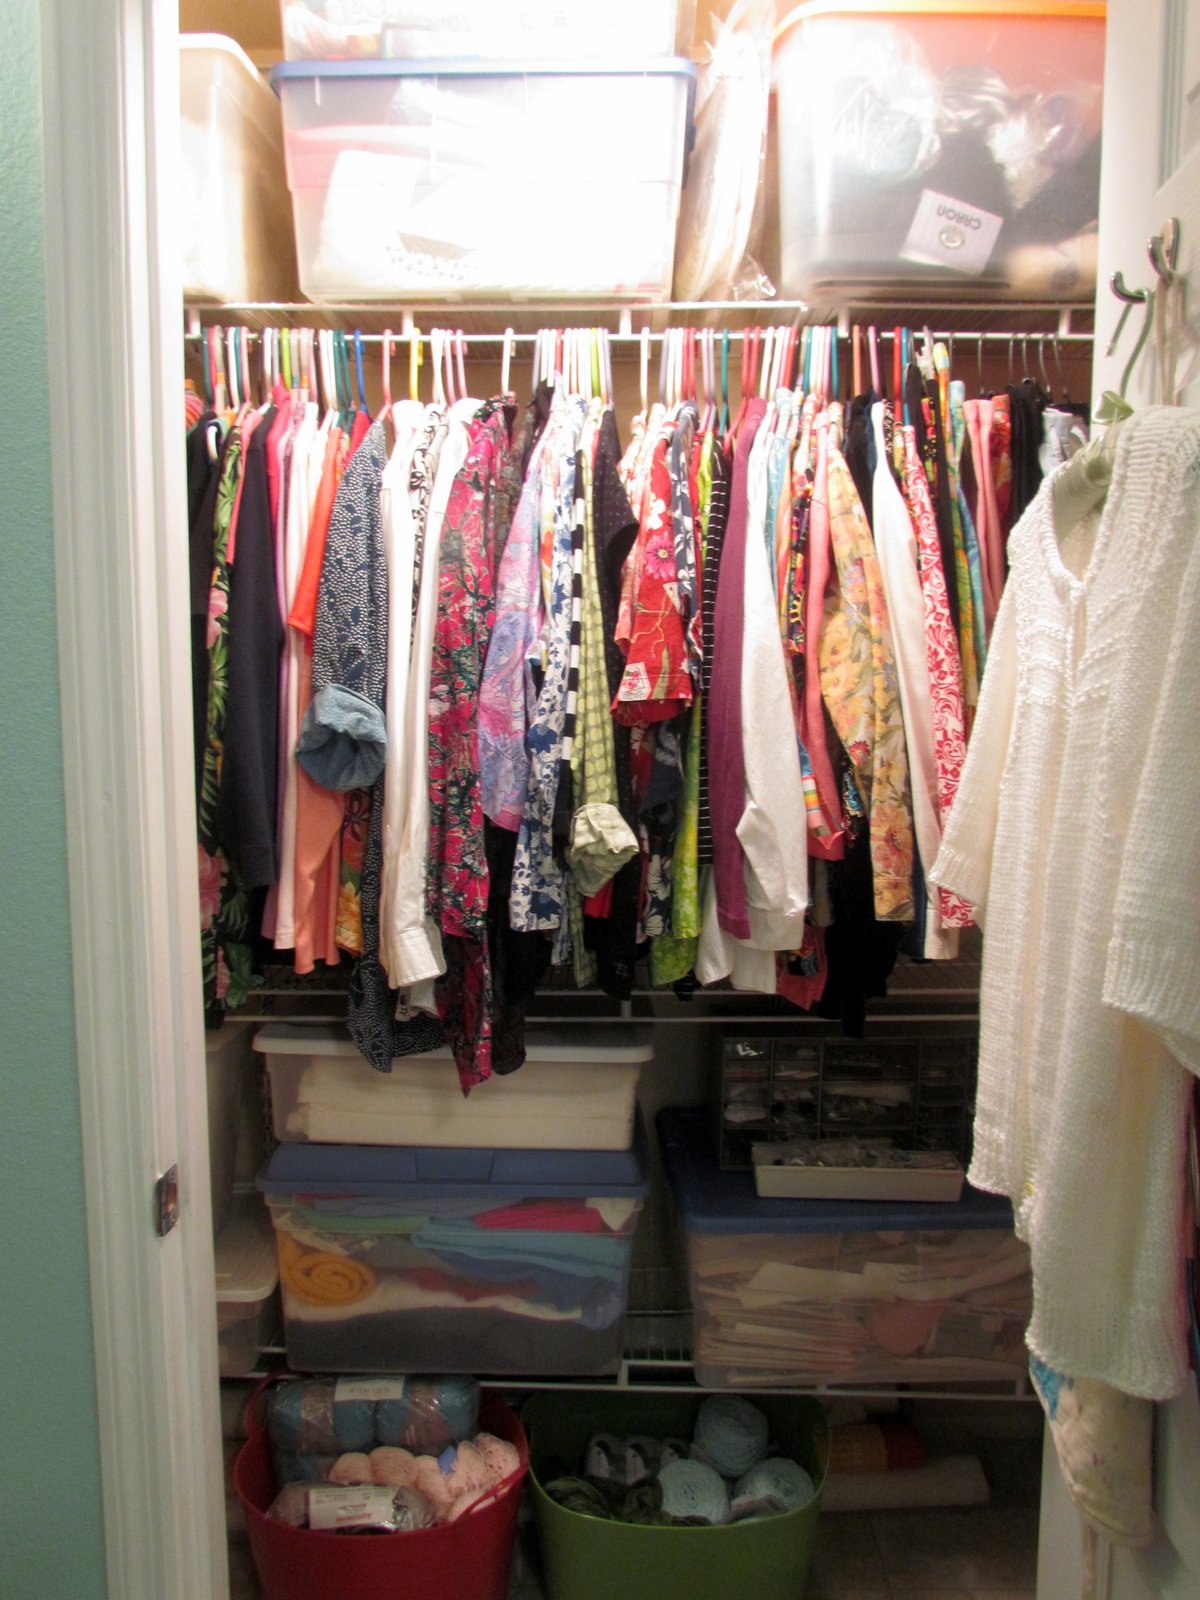
While waiting for our brand new and improved water pump to be installed (finished at 3PM) I cleaned up my studio, putting away all my fused fabric. Running water from the tap is such a good thing.

I will quilt In the Pink later. I did add the last border, and it will reside on the design wall until after the Quilt As You Go quilt is constructed.


Now it is time to start the Quilt As You Go quilt, which means I must make some hard choices.
My table didn't have room for my dark prints. Those are heavy into purples, blues, and blacks. Great for contrast, should the need arise.
But I have so many untouched fabrics, and some are over a year old, and just waiting for this moment.  Arrgghh! What to pick?

I am still in the pastel mode, and looking at the set of aqua and yellows, all never or rarely used, makes me think this could be really a different look for me.
But you know, once I start, any and all of my decision could change.
Good thing I don't have more choices, or I might never get started. The lavender must be included, and of course I have to use lime green and pink somehow too.


I plan to start in the middle. I think half square triangles will be the constant and I will be building rounds of simple unpieced borders. The main top will be rectangular, as this will be a twin bed quilt.


I have been knitting too, and finished this Summer Cardi, cotton/acrylic with mother of pearl buttons.
Currently knitting a plain v-neck vest for Dave, who actually asked for one.
Have a great weekend.


Posted by Picasa

Friday, February 17, 2012

Closet Discoveries


I spent the day Wednesday cleaning out and rearranging my clothes from one closet to another, and ended up having two closets. I don't know that it made much sense, but on the other hand I have a better idea of what is where now. Not all the Rubbermaids made it out to the garage. I need to keep some things close at hand. Of course I found stuff I had forgotten I had...like a box of undyed silk fabric and tons of undyed sock yarns.

These hand stitched pins were in my junk box. They are ooooold! I made them from my hand dyed silks, and some are stitched with my hand dyed silk threads. I added beads, sisha mirrors and padding underneath, with ultrasuede on the backs. Does anyone wear pins anymore? A couple of them are from my days teaching machine embroidery. Like the 90's. (SOLD!)


Last night our water pump caught on fire. (it's outside on the far side of the driveway, don't worry.) We didn't know it til this morning, so we'll be waiting all day for the repairs to be made. I guess that means the laundry is on hold.

Posted by Picasa

Thursday, February 16, 2012

Facing the Quilt

This post was first published in January 2008.


Although I usually finish my quilts with the Escape Hatch Finish, for Bon Bon #2 I decided to quilt it first and then add a facing. This will make quilting those strips at the top and bottom easier, because I will be able to sew off the edge and clip the threads afterward. In the picture above, I have fused my top to cotton batting and added a plain white cotton backing fabric, cut to size.


Then it is pin basted in the 'ditch' even though the top is fused to the batting. The lining is not fused, so it must be held in place for the machine quilting.


The quilt has been quilted and now four strips are cut two inches wide and as long as the sides of the quilt for the facing. Sew the two longer sides first, using a quarter inch seam, and trim the strip to the length of the quilt. Then sew strips to the top and bottom stopping just short of the corners. I will have to unpick the already sewn strip a bit, so that I can make a mitered seam at all four corners.
Sewing the mitered corner is easier if the fabric is creased into the miter first, so that line can guide the seam.


The miter will need to be trimmed.


Then the corner seam can be sewn, pivoting at the seam join. Trim the corners, turn to the back, and press carefully, guiding the facing away from the edge.
The resulting corner is crisp and pointed.
Turn the inside edges of the facing under and press again.

I would of course fuse the facing down, but you can hand sew it if you like.

The edge is turned under sharply and the facing does not show from the front.In addition to this method, see this post from Jeri Riggs, which may prove to be even easier than my version.